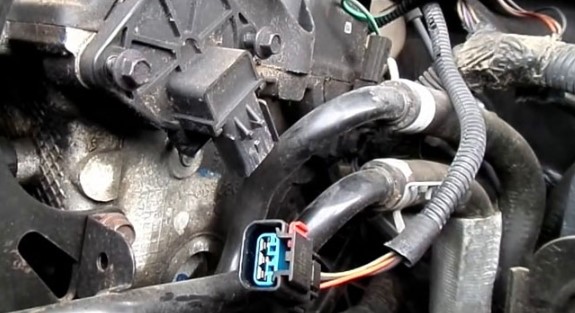
If there is an issue with the camshaft position sensor, it can be easily replaced to fix it. However, if the error code remains on the dashboard even after replacing the sensor, a more significant problem arises. The two most common codes associated with this issue are P0340 and P0011. These error codes can remain for a variety of reasons. In this article, readers will understand why these codes may stay despite replacing the sensor and possible fixes that could help them eliminate these codes.
What Error Codes Show By Camshaft Position Sensor Problems?
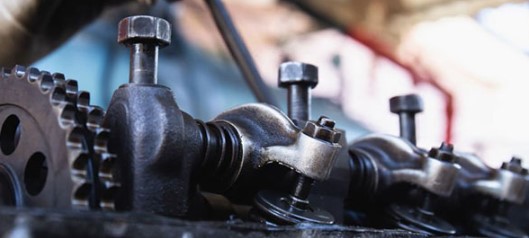
Replacing the camshaft position sensor in a vehicle might result in error codes being displayed. This could include P0340, indicating an issue regarding Camshaft Position Sensor A circuit; P0343 referring to “Camshaft Position Sensor “A” Circuit High Bank 1 or Single Sensor”; P0345 meaning the bank two camshaft position sensor is sending an incorrect voltage reading; and P0011 which implies that the ECM/PCM of the vehicle cannot differentiate between desired and actual camshaft position angle. To ensure the optimal functioning of your car, it is essential to identify and address these issues.
What Does P0340 Error Code Means?
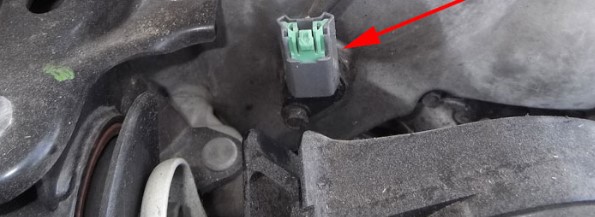
Among the many errors related to the camshaft position sensor, P0340 is a commonly occurring one after replacing the sensor. As many people may already know, the camshaft sensor is responsible for tracking and recording the speed and position of the rotation of its corresponding camshaft. It also synchronizes ignition as well as the firing of coils. Both the Engine Control Module (ECM) and Power-train Control Module (PCM) make use of this data from the Camshaft Position Sensor. Still, PCM won’t be able to create appropriate spark timing or injectors settings if any discrepancy arises. This then calls for activating or storing an error code P0340, which is similar to other regulations, i.e., P0345, where PCM obtains incorrect voltage readings due to a faulty electric circuit in CSP, however; since both codes indicate a problem with CSP, they need a proper diagnosis before rectifying it correctly.
Why Are You Still Getting Code After Replacing Camshaft Position Sensor?
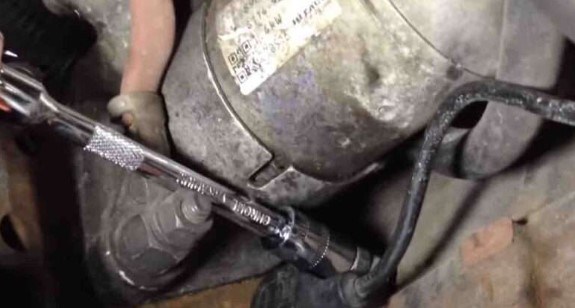
After replacing the camshaft position sensor, it is common for users to get P0340 and P0011 codes. To remove these error codes, performing a relearning process is necessary. Failure to do so may result in the code remaining on the system. Other causes of this issue include installation problems with the new sensor and old O-ring still present, electric circuit or wiring issues, damage to the reluctor wheel or starter motor malfunctioning, and potential wear and stretch of timing chain guide plates. A faulty PCM can also lead to getting this particular error code.
How To Get Rid Of This Code? [ 7 Steps To Follow]
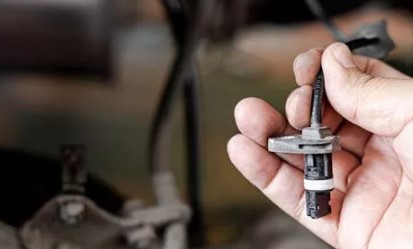
They need to inspect all components that could potentially be causing the issue if they notice the code staying after replacing the camshaft position sensor. These are a few possible fixes that might help solve the problem; for example, checking wiring and connectors, ensuring proper fluid levels, and ensuring no damage or debris inside vacuum lines. Additionally, reviewing any recent repairs to identify potential issues may be necessary before attempting any new troubleshooting steps.
Relearn Or Recalibrate The Sensor
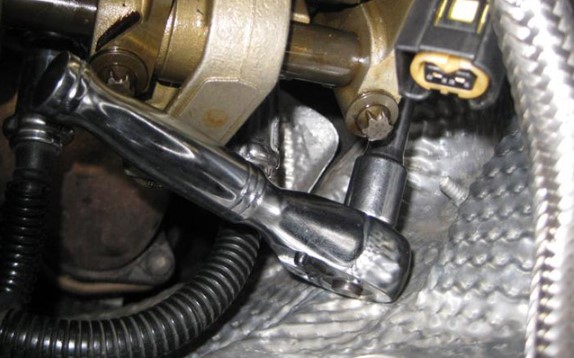
The ECU may sometimes store data from an old camshaft position sensor after replacing it. This can cause codes to be thrown and must be relearned for the vehicle’s proper operation. To accomplish this task, follow these steps:
Step 1 is to turn on the vehicle and connect a scanner tool such as MaxiSys Scanner Tool. Select your vehicle brand and model, or use the Auto Detect option to read your system automatically.
Step 2 is to go to the Diagnosis option by the image order below. Step 3 requires users to proceed through the Special Function section until reaching Cam Crank Relearn Option; then select OK when prompted by new window information about relearning sensor.
Finally, step 4 entails starting the engine while waiting for the coolant temperature requirement before acceleration; once reached, the process will occur automatically (Dodge Jeep Chrysler used to show the process). Other vehicles should have similar methods though minor variations could exist between models or manufacturers.
Check The O-Rings
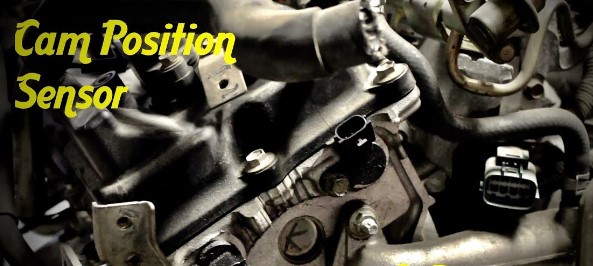
When installing a camshaft position sensor, using two O-rings for proper functionality is essential. One comes with the sensor, and the other must come from the car manufacturer. The camshaft position sensor will have an attached O-ring that can look like a plastic ridge, leading many people to believe one is missing. In this case, they may try to install an old O-ring onto the new part, which can cause gaps and impede the installation of the position correctly. To avoid any issues, removing this older ring and using only the original components provided by both parties involved in its assembly is best. Additionally, clean off all parts of the O-ring before installation.
Test And Fix Camshaft Position Sensor Wiring
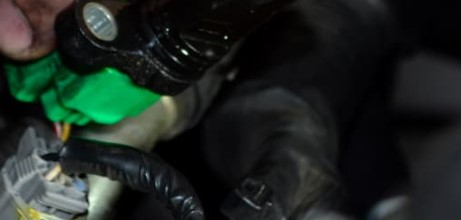
If a vehicle’s Electronic Control Unit (ECU) is displaying an error code, and the relearning process does not solve the issue, it likely indicates that there is a problem with the wiring harness responsible for sending signals to the ECU. One must test the camshaft position sensor wiring harness to identify and repair this fault.
The steps involved in carrying out such testing will vary depending on what type of vehicle it is; however, generally speaking, there are three wires associated with this part–a power supply wire, sensor signal wire, and sensor ground wire–which come in different colors according to model.
Using a multimeter set to PIN 1 allows one to check voltage levels for the power supply wire; if these read around five amps, the electrical flow should be good. Testing continuity between both ends of each of these wires–the camshaft position sensor and Electronic Control Unit (ECU)–using a multimeter also needs to be done to ascertain whether they are operating correctly or need replacing/repairing.
For anyone without technical experience or knowledge, it’s recommended that they seek help from an automotive professional who can carry out all the necessary tests and repairs needed.
Check The Reluctor Wheel
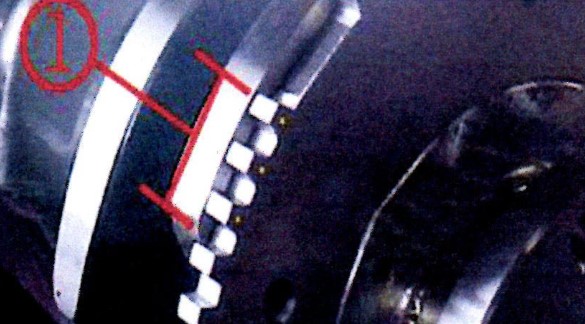
If the above method does not solve the issue, a further inspection of the Reluctor wheel is necessary. Adjustment of the camshaft position sensor with the Reluctor wheel teeth must be done correctly for successful results. Typically, sensors are aligned with the 20th teeth of the Reluctor wheel, but it is also essential to inspect this component for any broken or damaged teeth.
It is recommended that a professional mechanic should perform these checks and adjustments to ensure accuracy and safety when working on vehicle components. Furthermore, they can provide additional advice if needed to ensure your car runs smoothly in no time.
Inspect Timing Chain
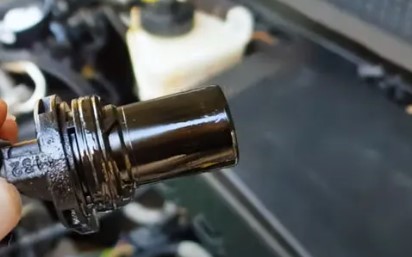
Many professional mechanics have mixed reactions regarding the timing chain being responsible for an error code. If the other components are checked, and the error codes remain, then it is likely that inspecting the timing chain could be the next best step.
If inspection of this component reveals that it is at fault, then a replacement will most likely be necessary. The cost of replacing a timing chain can vary significantly depending on the make and model of your vehicle; generally speaking, you should expect to pay anywhere from $200 to $1000 for a new one.
Inspect Starter Motor
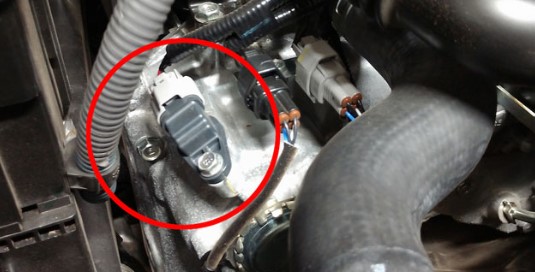
The starter motor is an integral part of the ignition system, as it is responsible for initiating the signal transfer from the camshaft position sensor to the ECU. If the starter motor malfunctions, this can interfere with this critical process and hamper engine performance. In such a case, professionals advise checking their starter motor regularly to identify issues before they become more serious. If a malfunction is detected, then repair or replacement of the starter motor may be necessary to restore the proper functioning of the ignition system.
Inspect ECU
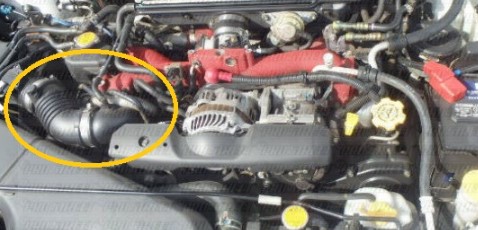
The Vehicle Electronic Control Unit (ECU) receives the signal from the Camshaft Position Sensor. If the wiring correctly sends the call, a code may still occur due to an ECU malfunction. In this case, checking that the ECU properly gathers and distributes the signal to all other system components is essential. If not, then repairing or replacing the control unit must be considered for any codes to be eliminated.
Why does the camshaft position sensor code keep coming back?
It is widely accepted that the most common cause of camshaft position sensor failure or defect is a malfunctioning component. In addition, circuit problems such as loose connections, damaged wiring, or PCM errors can be possible sources of disruption. Furthermore, damage to the reluctor wheel for the camshaft position sensor may also contribute to this issue.
Why won’t my car start with a new camshaft sensor?
This issue is often resolved by addressing the crankshaft position sensor, as it tends to fail more frequently than its cam sensor counterpart and can lead to a no-start. Furthermore, such an occurrence may be due to malfunctioning timing belts or misalignment of teeth; thus, it is advisable to conduct compression tests to identify any low compression cases.
How do you reset your car after changing the camshaft sensor?
When experiencing camshaft issues such as a check engine light on, acceleration trouble, sputtering, stalling, etc., resetting the camshaft position sensor is impossible. The only way to remedy this situation is by replacing the part altogether.
Why does my camshaft sensor keep failing?
The camshaft position sensor can go bad due to various factors, such as damage to the timing belt, faulty wiring, overheating components, and crank walks. Identifying and addressing any issues with the camshaft position sensor is essential to ensure the engine’s optimal functioning.
